Week # 3
I started out my day by making 500ml of 10mM Tris and 1Mm CaCl2 at 4 degrees Celsius with stirring.
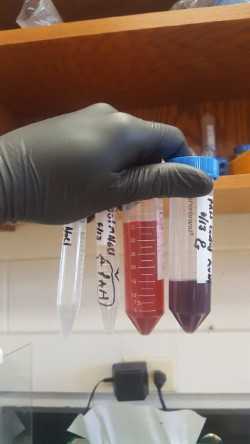
Took our solution from previous week and split it into two test tubes to get it ready for the centrifuge. Once both solutions were measured, I spun it at a speed of 5000xg for 5 minutes in the Centrifuge machine located in the Science center.
Once this was done, I removed the supernatant from each of the two test tubes. I removed 10ul of solution from each test tube and added 930ul of DI water to use UV-VIS machine. Calculated A260 and A320 wavelength for each solution and its absorbent at that wavelength.
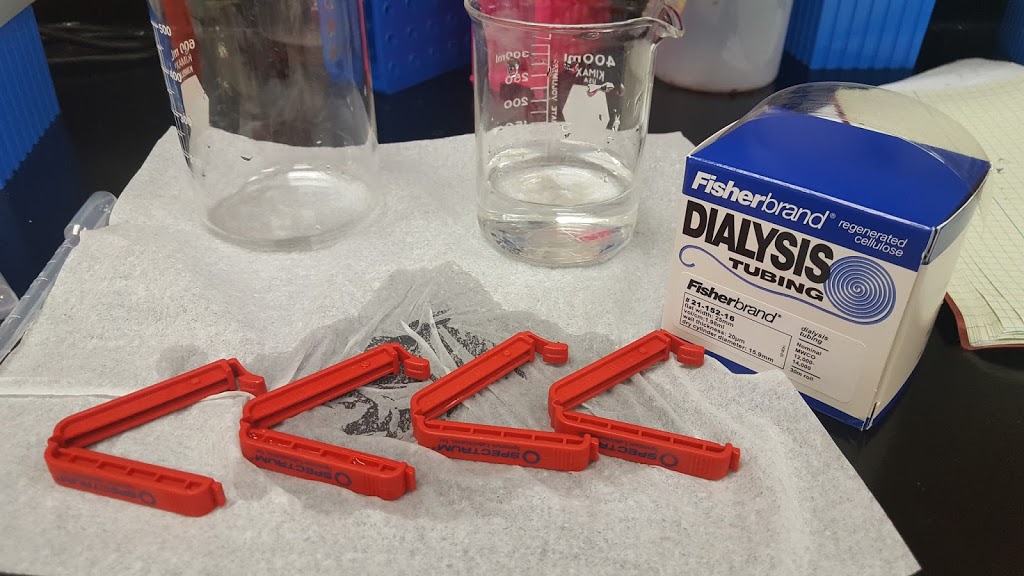
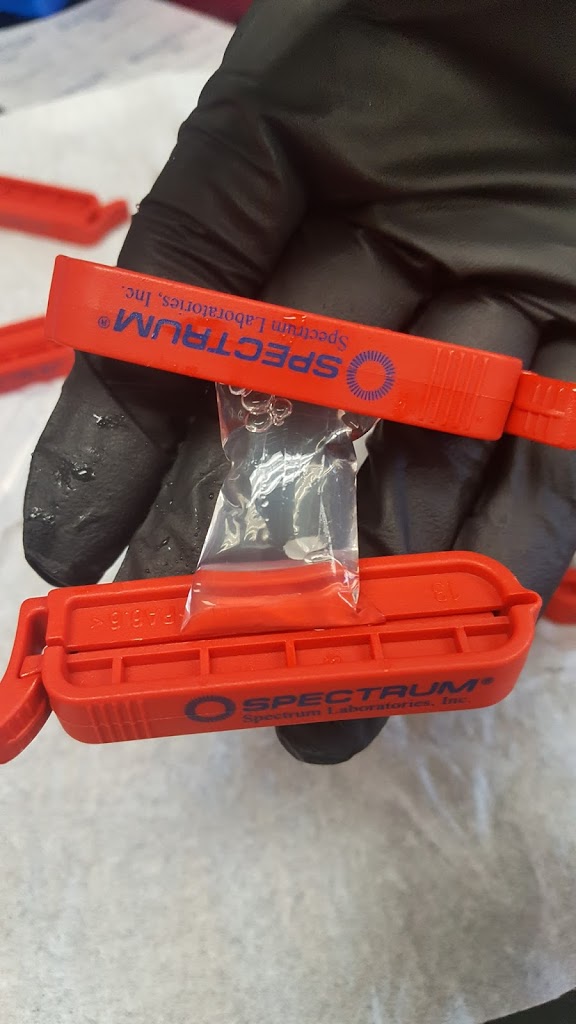
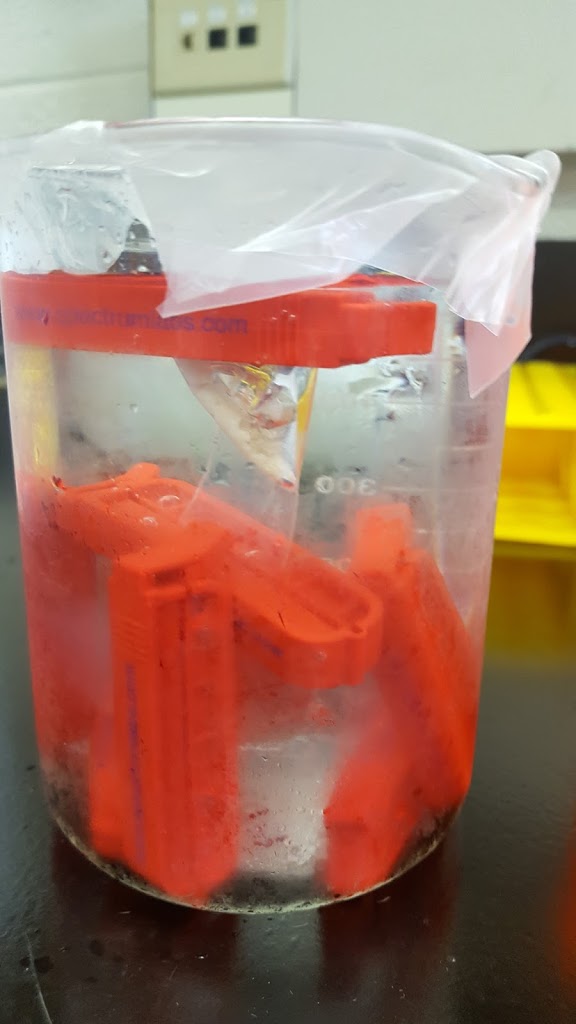
After this was done, professor Andresen used the same techniques with the dialysis bag and dialysis clip to add the supernatant and store it. Once this was done, we placed the dialysis bag with the supernatant inside to the 500ml of Tris and CaCl2 that we created early today, and placed this solutions into the refrigerator for the day.
When this was done, I calculated the grams of chromatin and DNA that we had in both our solutions.
The next things Professor Andresen and myself did was to create the Agarose Gel, which is used to separate varied sizes of chromosomes. When making a solution of agarose and TBE buffer we must be careful to not let it stay still and always mix it around because if we let it stay still, it will get frozen and then we will have to start again. This process approximate took about the entire day and once the gel was done we placed it into the gel cast and put it in the freezer overnight.
The next day when I came back, I calculated the DNA concentration of our Tri-Digestion. Once this was done, I used the information from the UV-Vis information to calculated how much NE stock volume to add to our solutions. I created an excel chart to calculated all the NE stock volume in one go, once this was done I added all the solutions I need to such has 100x Deluded Micrococcal to eat up DNA strands and heated to a temperature of 37.5 degrees Celsius for 55 minutes.
 |
| Figure 1# Machine used to heat up solutions |
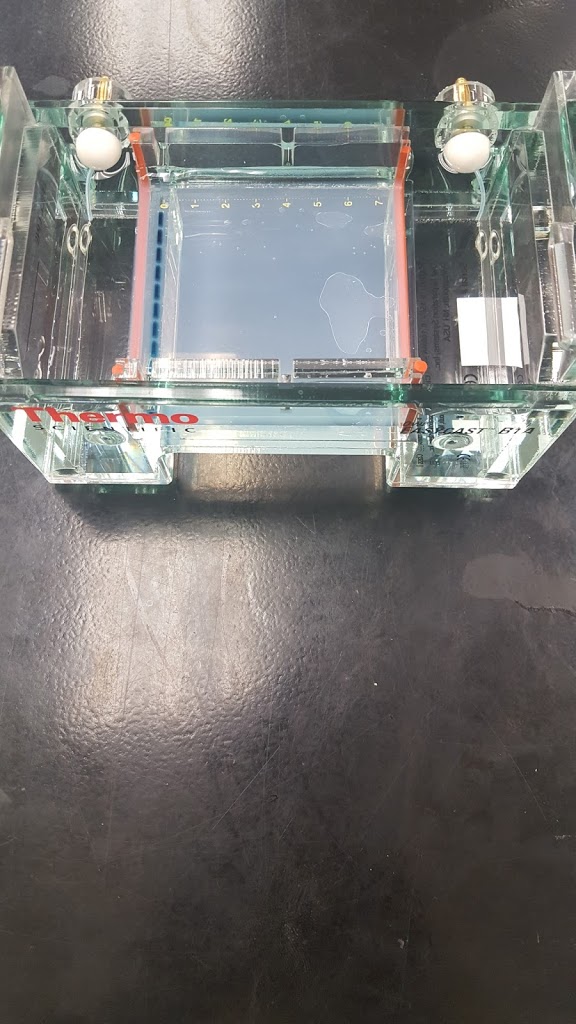
When this was done I got the gel ready that we made yesterday and place it in a place where we were going to add our samples. Once we took our solutions from the heater we took out 5ul of chromatin, 5ul of proteinase and .5ul of SDS into new test tubes and once again place this into the heater for 50 degrees Celsius. Once this was done, professor Andresen carefully poor the new solutions into the gel and used a machine name EASYcast BIA which pours electricity into the gel, which has a positive and negative charge and tends to move the DNA from the left to the right since DNA is negatively charge it will tend to move to a positively charge. This process approximately takes about 3 to 4 hours until you see a blue color line reach 5cm in the gel and once this has reach that point we place it into a special UV light that will tell us where the 146 chromosomes are.
 |
| Figure #2 Blue line where it needs to stop once DNA moves to the right due to charges. |
 |
| Figure #3 Shows the line where you must fill gel with TBE buffer |
The results we got were not the ones we were expecting so I came back to the laboratory and prepared to do the gel again and solutions to continue the next day.
When I came back the next day, I went to a training section to use a machine called UNICORN which took about half the day which I wasn’t expecting. This machine is going to be used to complete many task and one of them will be to use by our lab group. After this was done, I finish my day off by spinning more chicken blood in the centrifuge and creating gel once again for another try. I prepare everything to do the gel test once again for the next day and that’s all that my day consisted off.
The next day came and we did the same procedure with the Agarose gel, placed the solutions on the gel and used once again 100volts to move the DNA to the other side of the gel, and waited out for about 4 to 5 hours until a blue slash line reached the 5-cm mark. Once this was done we put it into a UV light to see how our results come out, unfortunately our results were not what we expected once again because we couldn’t see the separation of chromosomes. This can be seen in figure #4.
 |
| Figure #4 Results from UV light and our chromosomes |
This took approximately half the day and the rest of the day I just continue to spin down chicken blood with KTM in the centrifuge. Next week we are replacing our Proteinase K during our Trig-Digestion because we believe this is changing how our results come out. We will due the same procedure and double check on what could had cause our results.